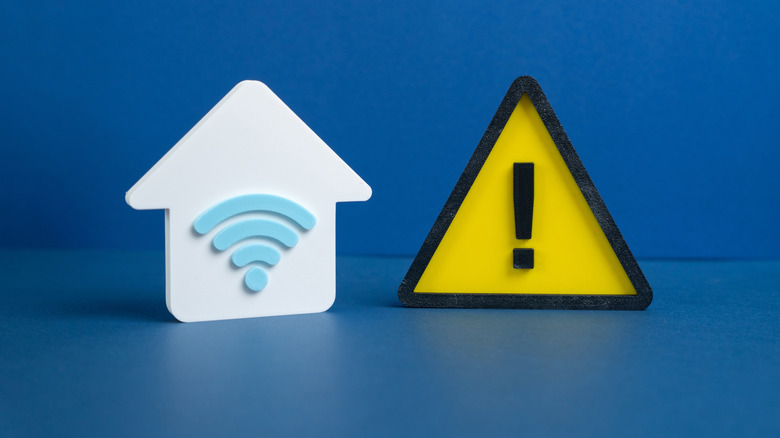


A smart home without the internet may sound like a paradox, but stay with me. There are already a number of smart home devices that work with no internet, but you can take it a step further and build an entire brand-agnostic smart home system that runs locally. That means a smart home that doesn’t need the cloud or rely on one company’s servers to keep working. With the right devices and setup, a smart home with no internet is more possible than it might initially sound.
AWS and Cloudflare have become the proverbial backbone of the internet, and each time one of these providers suffers an outage, we’re all reminded that our smart devices are only an internet outage away from being dumb. With a locally-controlled smart home, you can sidestep this issue, so long as your local network is online. You also retain greater control of your network traffic and data when everything isn’t being beamed to and from the cloud, giving you a greater degree of privacy.
While a local smart home comes with all of the aforementioned benefits, the tradeoff is easy remote access, which can be particularly useful for smart locks, cameras, and thermostats. So if that’s not a concession you’re willing to make, you could take a more hybrid approach.
What you need to build an offline smart home
The linchpin of most fully offline smart homes is a Home Assistant hub. Home Assistant is an open source smart home interface that prioritizes local device control and privacy, so it’s a perfect fit. While you could install Home Assistant on a Raspberry Pi 4 or 5, or even spring for the Home Assistant Green, you’re better off buying a cheap mini PC, given the current cost of memory. Hubitat is a lesser-known alternative, and works well for basic setups using Zigbee or Z-Wave, but is very limited compared to Home Assistant. Using Hubitat also requires purchasing its dedicated automation hub for local processing, but it remains an option.
Beyond a hub, you need to select devices that will work offline. You can technically reconfigure some Wi-Fi or IoT devices by isolating them on your LAN. However, doing so involves diving deep into your router and firewall settings, and your mileage may vary depending on the devices. Both Zigbee and Z-Wave are wireless protocols that don’t depend on Wi-Fi, enabling local control through a compatible hub or controller. Regardless of which you choose, both will require an adapter to allow communication for your devices. Home Assistant offers both, in the form of Home Assistant Connect ZBT-2 for Zigbee, and the ZWA-2 for Z-Wave. There are also other USB adapters for both platforms, so you can shop around a bit.
Both Zigbee and Z-Wave power devices for common smart home categories, but Zigbee products tend to be cheaper, are open source, and offer a broad catalog of devices. Z-Wave is proprietary, and generally more expensive, but it typically has better range and device interoperability. Both use AES-128 symmetric encryption and both form a mesh network with other devices in the ecosystem. Voice recognition for voice commands can also be achieved with local LLMs combined with Home Assistant’s Assist feature.
Don’t forget about Power Line Communication
What often gets left out of the offline smart home conversation is Power Line Communication (PLC). Power Line Communication works by transmitting data through your home’s existing electrical wiring. PLC has been around for years, and it’s the underpinning of X10, which is widely regarded as the dawn of home automation when it arrived in the 1970s.
A widely available and affordable PLC-based option is Insteon — and I speak from both personal experience as a smart home hobbyist and an electrician who has installed them in the past for customers. Insteon’s reputation faltered greatly when it abruptly announced bankruptcy and shuttered its doors, only to be resurrected soon after thanks to dedicated users literally buying the company. Insteon’s financial woes were never about its products, but more so about its mismanagement by its former parent company, SmartLabs, during the supply chain constraints during COVID-19.
Insteon is unique in that it deploys a dual-mesh — or “dual-band” as Insteon calls it — technology that uses both wireless RF and power line communication. This allows Insteon devices to not only function without Wi-Fi, but also act as a peer-to-peer network. To get started with Insteon, you would typically buy the Insteon Hub for web access, but a better route for offline control is the Insteon USB PLM, which you can use to interconnect Insteon devices and interface with Home Assistant.

Stephan is the sports journalist for the Maple Grove Report.