Are Carbon Fiber Car Parts Safe To Paint? What You Need To Know


Carbon fiber is one of the greatest innovations to ever grace the world of cars. Originally reserved for the highest end supercars back in the day, with pioneers like the Ferrari F40 and the Pagani Zonda, carbon fiber has slowly made its way to more affordable cars; the BMW i3 famously used carbon fiber in its construction, and the final iteration of the Mazda RX-8 also used it in its drivetrain.

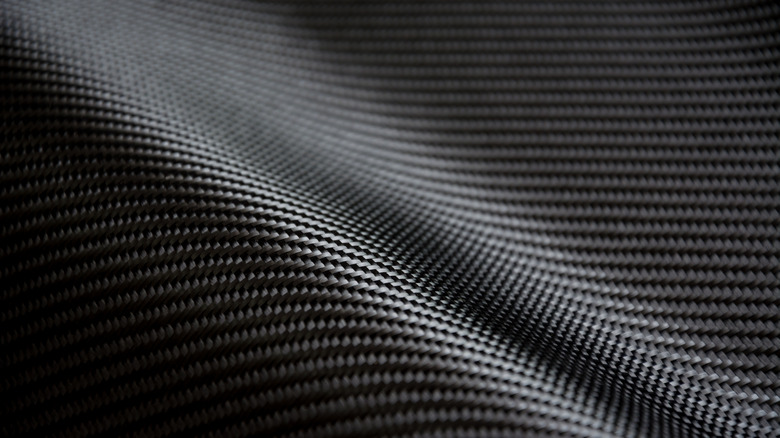
The aesthetic of unpainted carbon fiber looks very cool, and it further contributes to weight saving due to the lack of paint. But if you don’t like the look, you can actually paint carbon fiber parts but the process is a bit more involved. 

Like any paint job, sanding is a part of the process, but using the wrong grit might damage the fibers, which in turn, ruin the durability. Carbon fiber parts should also be treated with an epoxy resin, as the paint never actually bonds to the fibers, it can only bond to the resin itself. Here’s what’s involved.

Painting carbon fiber parts yourself

You just unpackaged your fresh carbon fiber hood or quarterpanel, and now it’s time to paint. Of course, you can get this done by professionals, but if you have the necessary equipment and knowledge at home, there are several key steps. First, give the part a good clean with a mild detergent and water, and then with some isopropyl alcohol, and make sure you let it dry. Then comes sanding — use a very mild sandpaper, as the wrong grit will damage the fibers. Most experts suggest lightly wet sanding with 400-600 grit sandpaper.

Then, you’ll want to make sure you’re using a specific epoxy that’s designed for composite materials — the stuff out of the can or any other type of universal primer won’t cut it. Two to three coats should do the job, and you should always pay attention to the flash (dry) times, which are generally five to 10 minutes per coat.

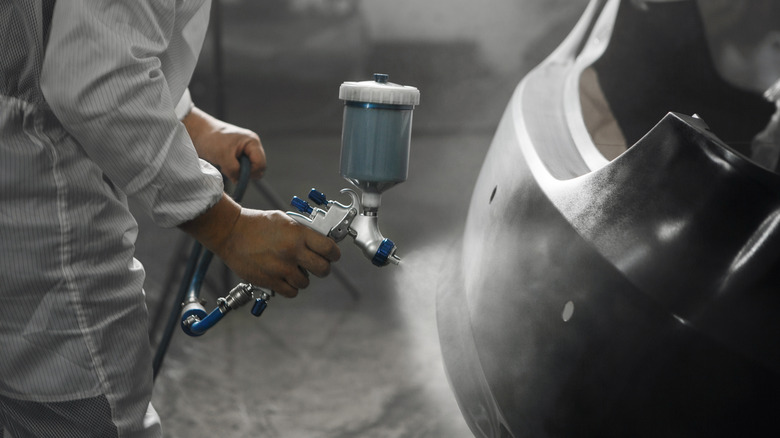
Finally, you can apply your choice of paint. You can either do an OEM paint match, which will cover up the carbon fiber’s weave, or a tinted clear, which makes the weave more visible. Apply the base coat, while holding a paint gun six to eight inches away from the surface, and repeat two to three times, going for a thin coat each time. As the resin that covers carbon fiber parts is sensitive to UV light, you’ll also need a good clear coat. If you want, you can also give it a machine polish, or a wet sand with high grit sandpaper to finish the job. 


Source link

Leave a Reply

Subscribe to Our Newsletter

Get our latest articles delivered straight to your inbox. No spam, we promise.

Recent Reviews


Testing desks is something of a subjective game. Much like office chairs, the tests are based on comfort, reliability and ease of setup rather than things you can test in electronics such as wattage and battery usage. I still tested each one rigorously and will continue to test them for longevity in the coming months.

I tested these desks by asking three people to try each one. Each of them used the desk for at least 16 hours and then gave me their impressions. The three people were 6 feet, 1 inch tall; 5 feet, 8 inches tall; and 5 feet, 4 inches tall respectively, to give me a good cross-section of average user height.

A busted up box containing a desk

James Bricknell/CNET

Setup time and package quality

Building desks can often be difficult and time-consuming. For each desk, I timed how long it took to unpack and assemble, and I noted whether the manual was easy to follow. I followed the instructions as closely as possible so that each build was performed as if I had never built one before. I also thoroughly checked the packaging, to make sure it wasn’t damaged, and if it was secure enough to carry the desk it had in it. Any damage was noted, and images were sent to the manufacturers for review.

Structural integrity

Modern desks need to be able to hold a good amount of weight. If you’re at a writing desk you might only have a small laptop, but if you’re using a gaming desk, it likely has two monitors and a giant gaming PC as well. For each desk, I checked the maximum load specification, and I tried to match that with the materials we actually use on our desks.

I used:

  • A heavy gaming PC tower
  • Two 27-inch gaming monitors on a dual monitor arm
  • A MacBook Pro
  • Two different keyboards and assorted mice and trackpads
  • My Oculus Quest 2
  • My phone stand and USB hub
  • A podcasting mic and headphones

Depending on the length and weight capacity of the desk, I mix and match these items, then check for any bowing of the top or inconsistencies in how the desk felt as I worked.

Giant black standing desk with rainbow lights

James Bricknell/CNET

The wibble-wobbles

This is a bit of a throwback from when my dad used to make furniture. Anything my dad built would be critiqued by my mum, and if it didn’t pass muster, she would say, “It’s a bit wibbly-wobbly, isn’t it, dear?” Once I’ve built each desk and loaded it for normal use, I would check it for the wibble-wobbles. This means rocking it from side to side and forward and backward to check that all the screws, bolts and fixtures kept everything rigid.


Source link