
Follow ZDNET: Add us as a preferred source on Google.
ZDNET’s key takeaways
- It will take many years for a solar panel to pay for itself.
- Cleaning is vital, as dust can dramatically reduce power output.
- Testing a suspect panel is pretty straightforward.
Even small solar panels are expensive, so they need to last a long time in order to make their money back.
Take my EcoFlow 400W flexible panel. This retails for $550.
If you take the average price for a kWh of electricity in the US (let’s say $0.19), combine that with the average amount of peak sunshine (let’s say 5 hours), and allow for losses through inefficiencies, this panel can make about 1.5 kWh a day, or just under 30 cents a day of power.
Also: Avoid these 8 solar mistakes that cut your power output in half – I learned the hard way
At that rate, it’ll take 5 years for the panel to pay for itself. And that’s before you add any batteries into the equation. This is why you need your panels to last as long as possible.
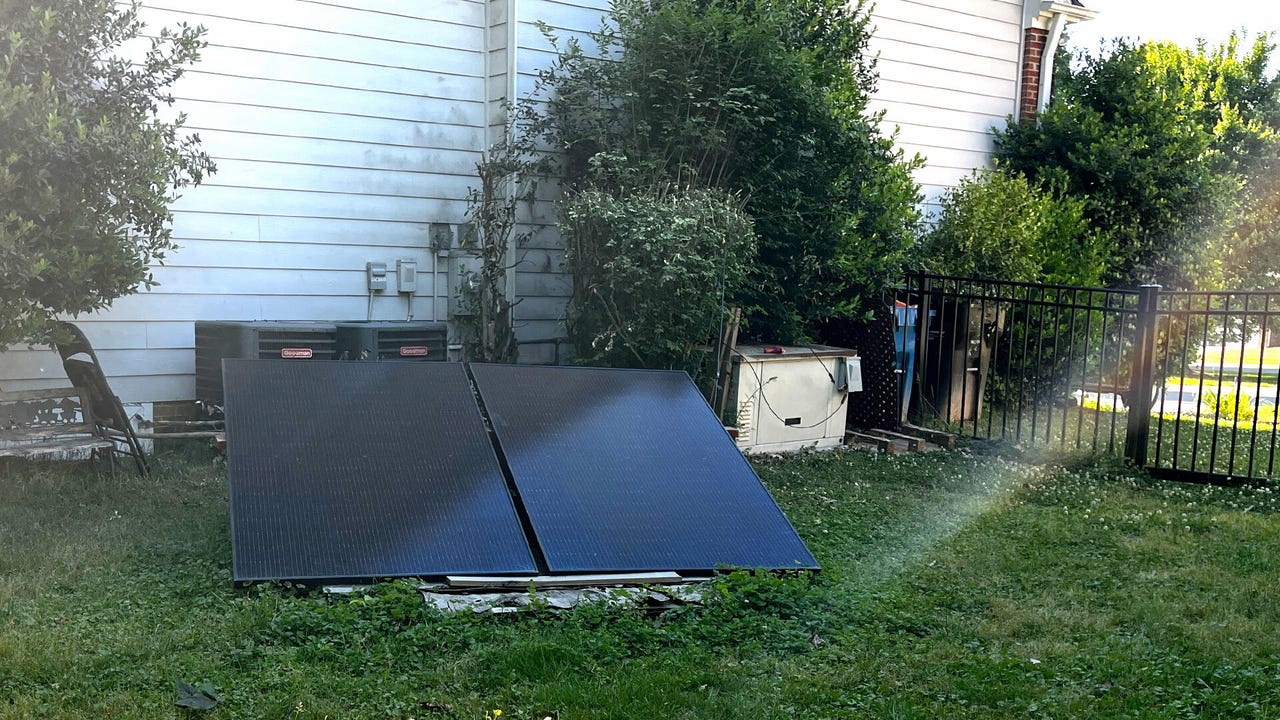
The problem is, panels live outside. In the sun, rain, mist, and sea salt. They get covered in all sorts of muck, ranging from dust and pollen to bird poo. And if they’re portable, they get handled and abused.
How to maintain solar panels
So, how do you get years of service out of something that gets such a hard life? A care and feeding plan.
1. Careful handling
Solar panels started life as something people put on the roof of buildings. Now that we have portable units, they’re much more prone to damage from rough handling.
Also: I spent two years testing wind power at home – here’s why solar is still my preferred source
- Be careful not to bend panels — this will damage them.
- Be sure to fold portable panels the right way. Folding a joint the wrong way can damage the wiring.
- Don’t put panels facedown on rough surfaces.
- Never pick up or drag panels by the wiring (sounds like a no-brainer, but I’ve seen it happen).
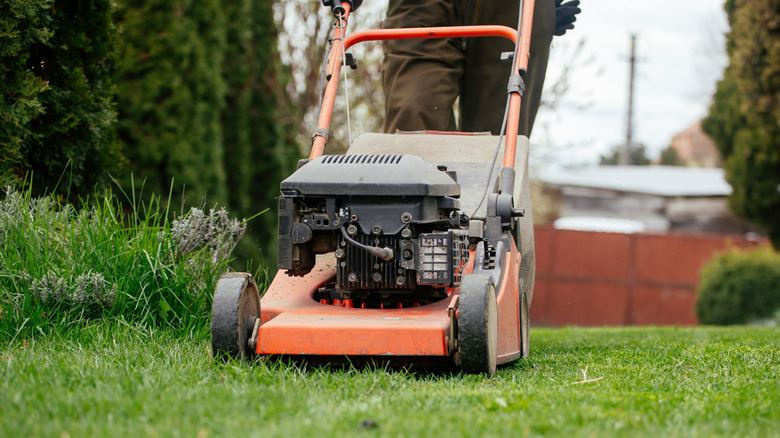
2. Regular cleaning is key
Even a light coating of dust can cut your panel output by 5%, while pollen, being stickier and more persistent, can cut output by as much as 15%. Combined, that’s a 20% hit, and that could add a year to the time it takes for the panels to pay for themselves.
Throw dust and sand into the equation, and you could see their performance cut by as much as 50%. All of a sudden, your panels need to work for a decade to pay for themselves.
Also: Switch to plug-in solar? My advice after testing the DIY energy tech at home
This is why it’s important to clean your panels regularly.
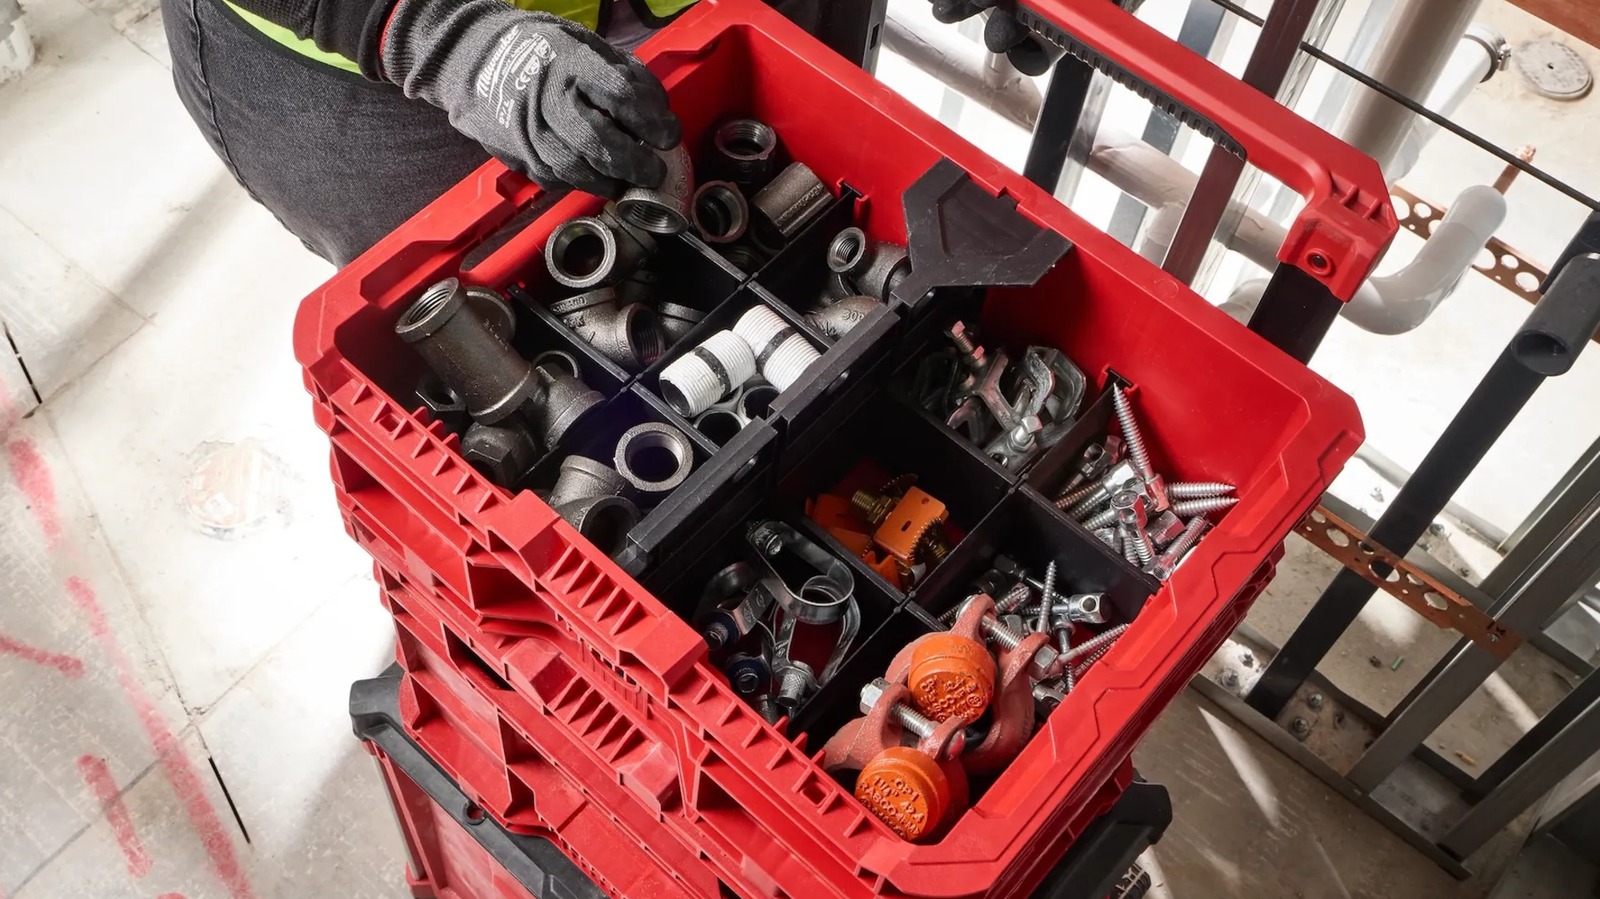
Here’s how I do it. First, gather the tools and supplies. I keep it simple:
Also: Considering plug-in solar? My expert advice after setting up the DIY energy tech at home
Now to the cleaning. Because solar panels can get hot, it’s best to leave cleaning to the morning or evening, when they’ll be cooler. While rare, it is possible for the panels to crack because of thermal shock (hot panel and cool water).
- Use the soft brush to clean off any big chunks of dirt. Take care not to scratch the surface of the panel, because scratches can severely affect the efficiency of the panel (and once scratched, they’re scratched forever).
- Once the big chunks are off, get the soapy water and one of the cloths, and wash the surface of the panel. Most of the dirt should lift easily, but if anything is well adhered — like bird poop — leave the water to soak in for a bit.
- The final step is to dry the panel using a clean microfiber cloth, and if you’re a total perfectionist, use the squeegee to get a perfect finish (I never bother with this step).
3. The all-important visual inspection
While cleaning the panels, look at the panel itself, along with the wiring and connectors, for any damage. You’re looking for chips and cracks on the panel itself, abraded wires, broken connectors, or delamination.
I’ve fixed small chips and cracks by carefully painting polyurethane sealer over the crack.
Also: How I easily built my own Wi-Fi router with a Raspberry Pi – for Starlink and solar control
As for broken wires or connectors, you need to buy replacement MC4 connectors, along with the tool for fitting the connectors. If your panels are suffering from delamination — where the panel has separated into its different layers, most often from being dropped on a corner or from a crack letting in water and causing corrosion — then I’ve never been able to fix that or found anyone to do it.
For plug-in balcony solar systems, check the mounting points for damage.
How to tell if a solar panel isn’t working
If you have a panel that you suspect isn’t working, then it’s time to do some testing.
Before I go further, you may have noticed a warning printed onto the MC4 connectors used for solar panels that says something along the lines of not disconnecting while under load. A lot of people mistakenly think this means you can only disconnect the connector at night or throw a blanket over the panel. No.
Also: Considering plug-in solar at home? How to know if it’s legal in your state – and actually worth it
In this case, “load” is referring to the stuff that the panel is connected to. So before undoing any MC4 connectors, make sure to turn off your power station or plug-in solar microinverter to eliminate the chance of electrical arcing causing damage, and possibly a small burn or electrical shock.
An MC4 connector – Note the tiny “Do not disconnect under load”
Adrian Kingsley-Hughes/ZDNET
A note about MC4 connectors: You might think that one MC4 connector is the same as any other. You’d be wrong. Only connect MC4 connectors of the same brand and type together. Otherwise, they might cause loose connections or even arcing, and get jammed or damaged.
There are two ways to test a suspect panel. There’s an easy way, and a more involved, high-tech way.
Start by disconnecting all your panels from the power station or microinverter, and then, one at a time, connect them, power up the system, and see if you get any power. It’s much easier to spot a defective panel when testing them individually. Also, if it’s a problem like a loose connector somewhere, remember to also check the connector going into the power station or microinverter.
Also: How I boosted my portable solar panels’ power by up to 30% – 11 expert-approved tips
The more geeky way of testing a panel involves using a multimeter. You don’t need anything fancy; any basic multimeter that can measure DC voltage and current up to 10 amps will do. Here, I’m going fancy with the Pokit Pro multimeter, and I’m testing my 200W rigid Renogy ShadowFlux panel.
Most solar panels have the open-circuit voltage and short-circuit current printed on them.
Adrian Kingsley-Hughes/ZDNET
We’re testing two things: open-circuit voltage (called Voc) and short-circuit current (called Isc).
Testing open-circuit voltage
- Note that you need sunlight on the panels to do this test.
- Set the multimeter to DC volts (there might be multiple options; you’re looking for a setting in the 10- to 100-volt range).
- Touch your multimeter’s red probe to the panel’s positive (+) output and the black probe to the negative (-) output.
- Make a note of the reading. Compare this to the Voc rating printed on the panel. It should be within 10% of the rated Voc. If not, the panel has a problem.
Testing a solar panel’s open-circuit voltage. This would be much easier with two people!
Adrian Kingsley-Hughes/ZDNET
Testing short-circuit current
- Set the multimeter to DC amps (consult your meter’s manual, because you’ll likely need to move one of the probes to a different port).
- Cover the panel or flip it upside down (you’ll likely need help for this) to prevent arcing.
- Touch your multimeter’s red probe to the panel’s positive (+) output and the black probe to the negative (-) output.
- Remove the cover or flip the panel over and check the reading. It should be pretty close to the Isc rating printed on the panel. If not, the panel has a problem.
- Quickly disconnect the probes to prevent sparking.
If a panel isn’t outputting the right voltage or current, there’s a problem, and if that isn’t an obvious issue with the cabling, connector, or the panel itself, then check if the panel is still under warranty, or see if you can find someone who repairs panels.
Also: This is the power backup setup I trust after years of testing – solar panels included
Hopefully, with a bit of TLC, your solar panels will give you years of service.