
Follow ZDNET: Add us as a preferred source on Google.
ZDNET’s key takeaways
- As long as your Android phone can power on, you can extract files from it.
- Using the command-line ADB tool gives you plenty of power.
- ADB is free and can be used on Linux, MacOS, and Windows.
Have you ever dropped your phone and realized, as it fell in slow motion to the concrete below, that something bad was about to happen?
You pick up the device to see a spiderweb of cracks running across the display. No matter how you touch the screen, the phone simply won’t react.
Gasp! What do you do?
You’ll do one of three things: take it to a repair shop, attempt to fix it yourself, or get a new phone. If your screen is shattered, you probably can’t even turn on Repair Mode.
Also: I’ve used Android Auto with Gemini for 2 months now – it’s transformed my drives in 4 ways
But what if you need to get some files off that device immediately? Maybe your resume was on that phone, and a recruiter has requested a copy tout de suite. How do you pull off that little feat?
You have options. First, if you have access to a MacBook, iMac, or Mac Studio, you could use MacDroid to retrieve that file. If you don’t have access to an Apple device, you may have to turn to ADB, which stands for Android Debug Bridge, a command-line tool that enables you to communicate with and control your device from a computer.
Sounds a bit daunting? I’ll show you how to use this tool.
ADB can be installed on Linux, MacOS, and Windows, and it works the same across all three platforms. I’m going to install it on Pop!_OS Linux, then walk you through the commands to grab that file from your phone.
Are you ready for this?
How to install ADB
I’m going to demonstrate this on a Ubuntu-based Linux distribution. If you use MacOS or Windows, you can download and install the Android SDK. You can also download the source file for the SDK from that same site, but I want to show you an easier way.
First, open your terminal window app on Linux.
From the terminal window, issue the following command to install the necessary software:
sudo apt-get install adb android-tools-adb android-tools-fastboot -y
You then have to enable Developer Options on your Android device. This is done by opening Settings, going to “About phone,” scrolling to the bottom of the page, and tapping “Build number” seven times, at which point you should see a notification indicating that you are now a developer.
Fun times.
Go to Settings > “Developer options” and look for USB Debugging. Tap the On/Off slider for USB Debugging until it’s in the On position.
You have to enable USB debugging; otherwise, ADB won’t be able to see your phone.
Screenshot by Jack Wallen/ZDNET
Plug your phone into your computer.
Back at the terminal window, issue the command:
adb devices
You should see something like this in the output:
List of devices attached
47081FDAP003XV device
Also: How to enter Safe Mode on your Android phone – and when’s the right time to do it
Congratulations, ADB can see your device. Now, let me show you how to download that file onto your PC.
Downloading a file with ADB
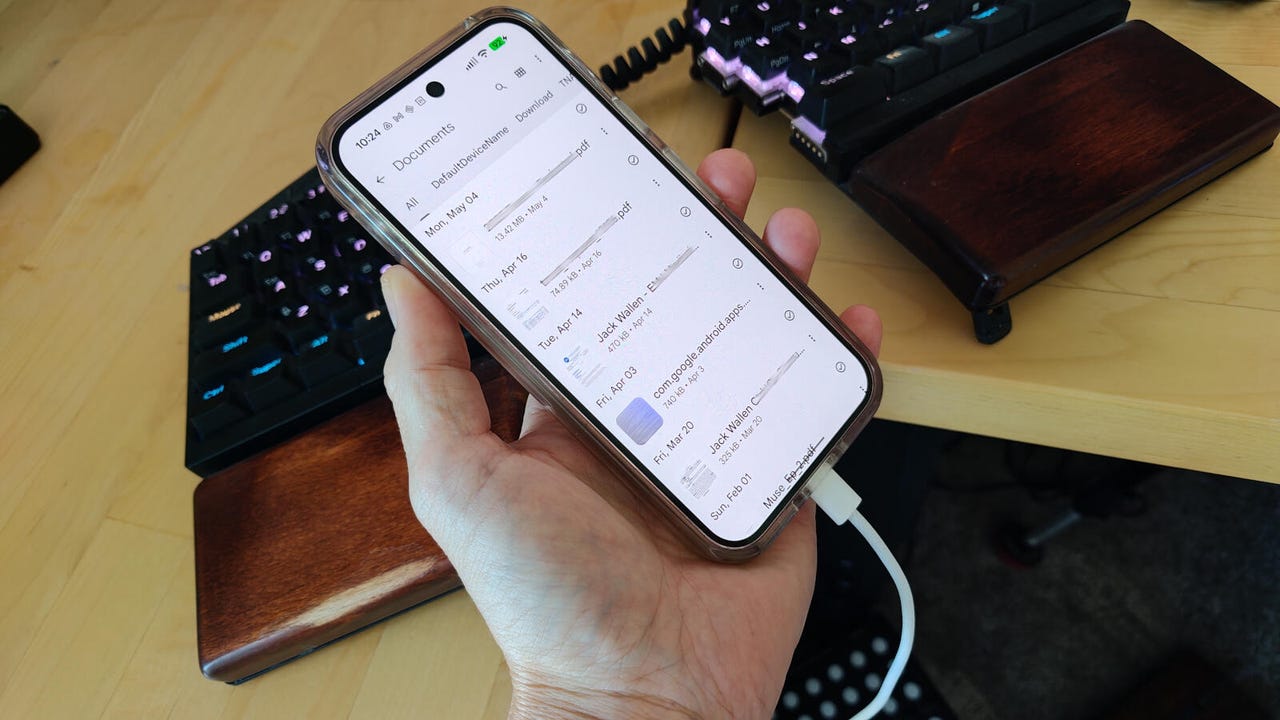
It’s actually quite simple. The only caveat is that you have to know where your file is stored on your device.
Let’s say the file is named resume.pdf and is stored in the Documents folder, which should be something like this:
/storage/emulated/0/Documents
To download that file to the Documents folder on your PC, the command would be:
adb pull /storage/emulated/0/Documents/resume.pdf ~/Documents
And that’s it!
But what do you do if you don’t know the file’s location? ADB has you covered. Issue the command:
adb shell ls
This will print out a list of all the directories on your phone. You could then issue:
adb shell ls storage
You should see:
emulated
self
Issue the command:
adb shell ls storage/emulated
You should see something like:
0
11
obb
You see where this goes. Keep searching with the adb shell ls command until you find the exact location of your file, and then pull it to your PC.
Also: How to turn on Private DNS Mode on Android – and why it’s a must for security
You can view the entire list of ADB commands on Linux with the command:
man adb
Congratulations, you now know how to grab files from an Android phone, so long as that device can power on.