
Follow ZDNET: Add us as a preferred source on Google.
ZDNET’s key takeaways
- DistroSea allows you to test several Linux distributions.
- There are currently 85 distros to test.
- DistroSea is free and works on any web browser.
I recently wrote about the Virtual OS Museum, which let me reunite with the very first Linux distribution I’d ever tried. It was a fabulous walk down memory lane, and even allowed me to test other, now-defunct, Linux distributions, all from the convenience of my web browser.
The only caveat to the Virtual OS Museum is that it’s truly a museum — you won’t find current distributions available to test.
That’s where DistroSea comes into play.
Also: This is my favorite Linux distro of all time – and I’ve tried them all
Unlike the Virtual OS Museum, DistroSea allows you to actually test several new distros. Currently, there are 85 distributions available, including AerynOS, Alpine Linux, AnduinOS, Arch Linux, Arco Linux, Bazzite, Big Linux, BlendOS, Bodhi Linux, BunsenLabs Linux, CachyOS, Chimera Linux… the list goes on.
The distributions range from the all-too-familiar to the obscure. In fact, I scrolled through the entire list looking for distributions that I’d never heard of. I found just one — Primtux. So I decided to give it a whirl.
The NoVNC toolbox is always at your service.
Screenshot by Jack Wallen/ZDNET
To fire up Primtux — or any of the distros — you click its associated icon, select a desktop (if that option is available), and wait in line. Depending on how busy DistroSea is, the wait can be anywhere from nearly instantaneous to a few minutes. Once the wait is over, click Continue and wait for the distribution to boot.
If you’re not satisfied with the display’s quality, make adjustments here.
Screenshot by Jack Wallen/ZDNET
You’ll also notice a small handle on the left edge of the display. Click that handle to reveal the VNC toolbox, which clearly indicates that the distributions are viewed via VNC (noVNC to be exact). Because of that (and because these distributions are rendered via a network and a web browser), you can expect them to perform slower than if they were installed locally.
Also: The easiest way to try out Ubuntu Linux
The VNC toolbox lets you (from top to bottom) view the desktop full-screen, open the VNC settings, and disconnect from the distribution. From the Settings section, you can adjust the quality and compression and change the scaling mode from Remote to Local. You’ll most likely find the default settings work just fine.
Turns out Primtux is a French distribution that seems to be decidedly educational.
Also: How to connect to a VirtualBox virtual machine from your LAN
I then decided to test one of my favorite distributions on the list, elementary OS 8.0. I was able to test elementary OS in demo mode, but there was an option to install. Unfortunately, the installation stalled at selecting a drive, which is something I’ve experienced with elementary OS on virtual machines.
Oh, elementary OS, how I love thee.
Jack Wallen/ZDNET
On to my next test.
This time around, Bodhi Linux and I went straight to the installation.
Also: 5 of the easiest, quickest Linux distros to install – and I’ve tried them all
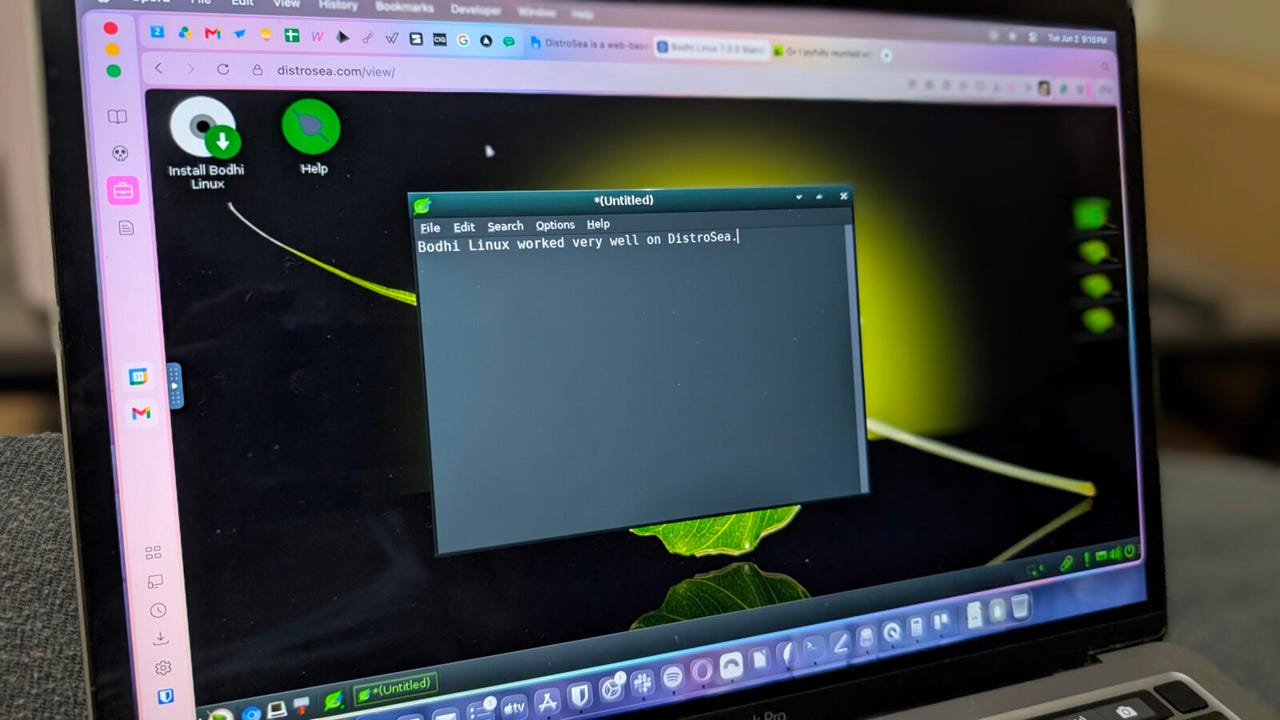
No dice. Because the virtual drive didn’t have enough space, I had to drop into live mode and test Bodhi Linux without installing it. It’s a good thing that live Linux works well. Bodhi Linux worked very well via DistroSea, which came as no surprise. Bohdi Linux is a lightweight distro that runs exceptionally well, even on older hardware.
I shouldn’t have been surprised by not being able to install Bodhi Linux.
Screenshot by Jack Wallen/ZDNET
Although I didn’t experience the same kind of nostalgia as with the Virtual OS Museum, I could imagine anyone wanting to see how a particular Linux distribution looks and behaves would find this website an absolute treat. After all, testing distributions via a website is much faster than downloading an ISO, creating a live USB drive with the ISO, booting from the USB device, and trying out a live instance.
Also: I joyfully reunited with my first Linux distro at the Virtual OS Museum
If you’re considering giving Linux a try, hop over to DistroSea to see if there’s a distribution that speaks to you.