
Follow ZDNET: Add us as a preferred source on Google.
ZDNET’s key takeaways
- Command strips work best on smooth, clean surfaces.
- Choose the right Command product for the job.
- Pull tabs slowly to avoid wall damage.
While it’s a lot of fun to drill holes and bang nails into walls, it’s 2026, and those days should be in the past. There are better options for a good 95% of things people want to hang at home or the office. You know, stuff like picture frames, signage, and light bits of decor.
The modern way to hang stuff like this is to use an adhesive product, and this has the benefit of being non-destructive, so when it comes time to change things around, you’re not having to repair a bunch of holes.
Also: You’ve been using super glue all wrong – here’s how I really make it stick
The most popular solution for hanging things on walls is a product by 3M called Command strip. This is an adhesive product that’s designed to replace nails and screws. Not only do I use Command strips to hang the regular stuff like picture frames, but they’re handy for keeping things like cabling tidy.
At the heart of all of the Command strip products is the strip itself. It consists of a non-permanent, stretch-release adhesive foam strip. The idea is that the foam strip spreads the weight of whatever object it’s tasked with hanging across a larger area of wall than a nail would offer, holding it in place until it’s time for change.
When it’s time for change, you pull the tab, and the foam comes off the wall cleanly.
Also: 10 DIY gadgets I never leave out of my toolkit (and why each one earns its spot)
Or at least that’s the idea. The problem is, people don’t use them properly because they don’t read the instructions, and the strip either comes off the wall prematurely or, when it comes time to remove it, walls end up getting damaged.
Don’t let this happen to you. Here’s how to become a 3M Command strip expert. And there’s a lot more to them than just slapping them onto a wall.
The right tool for the job
If you don’t want the thing you’ve stuck on the wall to come crashing down, the first thing you need to make sure of is that 3M Command will work for you.
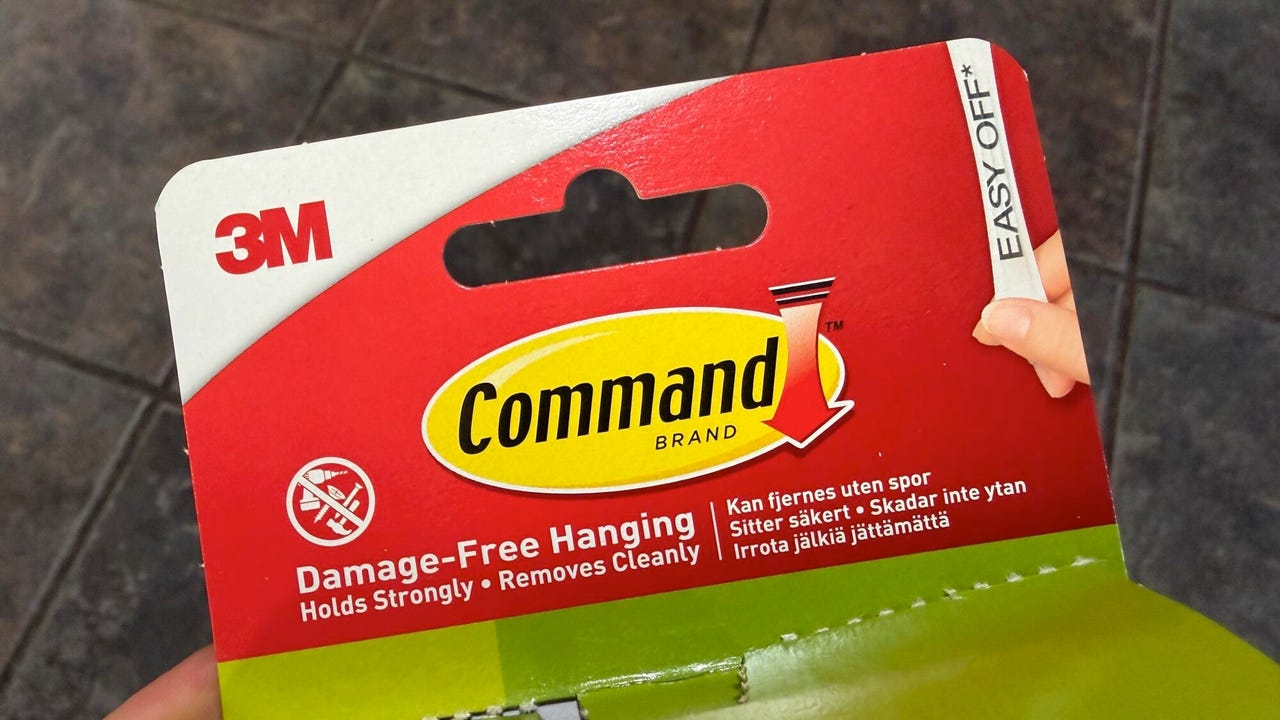
Instructions… pah, who reads those.
Adrian Kingsley-Hughes/ZDNET
Command strips are designed to be used on smooth, non-porous surfaces. Surfaces like:
- Painted walls (if it’s been recently painted, wait a week)
- Finished/sealed wood
- Tile
- Glass
- Mirror
- Metal
Notice how I’ve not listed wallpaper. 3M doesn’t recommend sticking Command strips to this surface. I’ve tried it, and the problem is that the adhesive sticks to the wallpaper better than the paper is stuck to the wall, so it’s likely to rip off, damaging your wallpaper.
Another thing to bear in mind is that the strips might leave slight residue on paint or finished wood, and if this worries you, I suggest cutting a strip in half, sticking it to an inconspicuous spot, leaving it for a few days, removing it, and checking for any marks. I’ve had this happen once on a wooden door, and the marks were quite noticeable.
Also: These unassuming pliers replaced my multitool for a fraction of the cost
A good test for a surface is to run a fingernail across it and see how it feels. If it feels smooth and non-porous with no visible texture, you’re good to go. If you can feel any graininess, bumps, or fabric-like texture, or it’s dusty, flaky, or loose, the Command strip is going to fall off, along with whatever is hanging on it.
It’s also worth remembering that both heat and cold can affect the performance of a Command strip.
Temperatures vary depending on the product you’re using, but as a general rule, regular indoor Command strips should be applied when the temperature is above 50°F/10°C and have a working range of 50°F to 105°F/10°C to 40°C. There are outdoor versions of Command strips that are good with temperatures ranging from -20°F to 125°F/-30°C to 50°C.
Get the right Command product
The next part that most people get wrong is that they think every Command strip is the same. Not only are there different types of Command strips — from different kinds of hooks, cord clips, cable management, a power strip holder, and a Velcro-like product for hanging picture frames — but they also come in different strengths.
Get the right product for the job.
Adrian Kingsley-Hughes/ZDNET
Command products are rated from being able to hold half a pound all the way to 20 pounds. And you can get refill strips.
Also: Finally, a highly functional multitool for under $30 (and doesn’t feel like a scam)
And this is where most people go wrong right from the start. Get the right Command product for the job, and if in doubt, you’re better off going for a product with a greater rating.
Some of the weight ratings are for pairs of Command strips… watch out for this.
Adrian Kingsley-Hughes/ZDNET
Confusingly, sometimes the rating for a Command strip can be for pairs of strips. Keep an eye out for this gotcha.
If you’re going to be using the Command product in a bathroom, you need to make sure that you get the water-resistant versions (you can spot these because they have blue on the packaging).
Prep the surface
The next step that most people get wrong is that they don’t prepare the surface they’re going to attach the Command strip to properly. They’ll give it a wipe with a cloth or finger and call it done.
3M recommends wiping the surface with rubbing alcohol or isopropyl alcohol.
Also: I can’t recommend these 20+ pocket-sized gadgets enough (and they’re cheap)
Do what the instructions say.
Apply a bit of rubbing alcohol to a lint-free cloth, give the surface a wipe, and leave it a few seconds for the alcohol to evaporate.
Don’t use soap and water. Don’t use acetone. Don’t use some random cleaner from the kitchen. And definitely don’t huff on it with your mouth and give it a wipe with your sleeve. In my haste, I’ve tried all of these methods, and none work because they leave a film on the surface that will affect the stickability of the adhesive.
You’re now ready to stick
OK, so you’ve got the right Command strip, the surface has been prepped, and you’re ready to stick.
Don’t rush this bit.
Also: The weirdest tool I own is also one of the most useful (and it’s only $6 on Amazon)
First, confirm the position is where you want it to be.
Peeling the backing can be the trickiest bit.
Adrian Kingsley-Hughes/ZDNET
Next, peel the backing, making sure it’s the right backing, as some Command strips have a wall-side adhesive and a side that sticks onto a hook. You’re looking for the one with the tab.
Now, the moment you’ve been waiting for — apply the adhesive pad to the wall, making sure the pull tab points down, and hold it in place for 30 seconds.
Also: Thousands of readers bought these 10 useful tools and gadgets (No. 5 gets weird)
At this point, your timeline can go one of two ways:
- You’re done. Now you have to wait 24 hours for the adhesive to reach full strength before hanging anything from it. Yes, this is important, so don’t mess things up at the last step.
- Ahhh, shucks. You stuck it in the wrong spot. Don’t panic. Because it takes 24 hours for the adhesive to achieve full strength, you can lift the Command strip off the surface (just lift it. DO NOT PULL THE TAB!) and put it in the right spot, again pressing it down for 30 seconds. Try not to mess it up a second time because I find that the strip suffers if you have to lift it a second time.
You want to remove the Command strip
OK, the strip has now done its job. Maybe it has been up 10 minutes or 10 years. It’s now time for it to come down.
I’ve removed a lot of Command strips, and once you get the technique down, it’s easy.
Also: 14 cheap gadgets we’ve found to be highly useful (and most are on sale)
Grab hold of the tab, stretch it slowly and steadily downward, parallel to the wall, and go for at least 12 inches. Think you’ve pulled enough? Keep pulling, and the strip will come off the surface.
Easy.
Don’t rush the removal. Pull slowly and steadily. Get too enthusiastic or start ripping and tearing at it, and you’ll end up with some sort of problem.
Need something stronger?
Looking for a tool-free way to hang things like mirrors or heavy frames from a wall made of drywall?
No problem.
Also: I’ve tested hundreds of gadgets over the years – these 10 I always keep handy
You need the 3M CLAW, a specialist hook that comes in a variety of sizes capable of holding up 65 pounds These are metal hooks that dig into the plaster, so they do leave marks, but you press them in using your hand and only need a flat-bladed screwdriver to remove them.