AT&T’s New iPad Day Pass Is a Flexible Way to Get Connected


Sometimes you need a screen that’s larger than your phone to get stuff done, but connecting a tablet to the internet can be a hassle. You need to find (and trust) a local Wi-Fi network, use a phone as a wireless hotspot or sign up for a dedicated data plan for that device.

For owners of cellular-enabled iPad models, AT&T is introducing an easier, cheaper alternative. The Unlimited Day Pass for iPad, available today, costs $3 and provides 24 hours of high-speed data.

The feature is a pay-as-you-go option, and works with an iPad, iPad Pro, iPad Air or iPad mini that is eSIM-capable; Apple lists those models as “Wi-Fi plus Cellular.” Plus, the pass is open to anyone with a compatible iPad — not just AT&T customers.

Your first day pass is complimentary (for one iPad per customer). Subsequent passes are charged the $3 rate (taxes included) via credit or debit card.

Two iPads showing the process of signing up for an AT&T Unlimited Day Pass in the iPad's Settings app.

The AT&T Unlimited Day Pass on iPad is activated through the iPad’s settings, not a separate app.

AT&T/Screenshot by Jeff Carlson

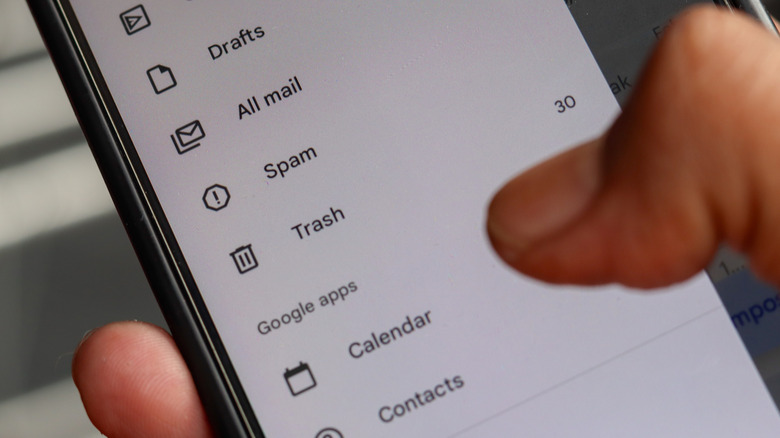
The Unlimited Day Pass doesn’t require an app to get connected, either. Signing up and paying for the service happens entirely within the iPad Settings app. In the Cellular Data settings, choose Find a New Plan, tap AT&T, tap Unlimited Day Pass and follow the prompts to enter your payment information.

An AT&T representative confirmed that the data speed is as high as the device and network conditions allow (with the caveat that AT&T can reduce the speed if needed due to network congestion).

The service is currently available only for cellular-equipped iPad models. The AT&T representative said that extending the day pass to Android tablets is on the company’s roadmap, but we don’t have a clear release date yet.


Source link

Leave a Reply

Subscribe to Our Newsletter

Get our latest articles delivered straight to your inbox. No spam, we promise.

Recent Reviews


Google is experimenting with a new policy restricting the amount of free storage provided to some accounts. New Google accounts (including new Gmail accounts) created in certain regions will be limited to 5GB of free storage when they’re first set up. That’s only one-third of the amount of storage that has been typically offered. There is a way of increasing the amount of free storage you get when setting up a new account, though: you can unlock it by linking your phone number.

When approached for comment by Android Authority, a Google spokesperson confirmed that the new policy was being tested to “help us continue to provide a high-quality storage service to our users, while encouraging users to improve their account security and data recovery.” The statement didn’t clarify which regions the policy is being tested in, nor for how long the testing period will last.

Notably, a Google One Help support page about account storage has been updated to state that each Google account contains “up to 15 GB of storage”, as noted by 9to5Google. Previously, the page didn’t say “up to”; it simply stated that accounts come with 15 GB of storage. So far, the experiment doesn’t appear to stretch to pre-existing accounts.

Per a screenshot shared by Reddit user Sungusungu on R/DeGoogle (a subreddit dedicated to finding alternatives to Google services and products) Google is collecting phone numbers to make sure that the full 15 GB of storage is only redeemed once per person. Of course, that’s easily evaded by using a burner phone to set up multiple accounts, should you want to. The pop-up directs users to a webpage to learn more about storage management. However, at the time of writing, the link redirects to the help center landing page instead.

How to link your Google account with a phone number

If you’re in the process of setting up a new Google account in an impacted region, then you might be prompted with the option of unlocking an extra 10 GB of storage using your phone number via a simple pop-up menu. If so, you can go ahead and follow those steps. However, if you want to link your phone number with a pre-existing Google account, then here’s what you need to do. Using your computer, you need to:

  1. Open your browser and head to myaccount.google.com, then navigate to “Security and sign in” on the left-hand toolbar. This should open a list of security options.

  2. Select “Use your phone to sign in” and then “Set it up”. 

  3. Add a phone number using the “Recovery phone” option.

  4. Follow the on-screen steps to verify your number and finish linking it to your account.

Your options might look a little different if you already have a recovery number set up with your account.

Alternatively, you can connect a phone number to your Google account from your Android device, iPhone, or iPad. Much like on a computer, you connect your number by adding it as a recovery phone. First, head over to myaccount.google.com. Then select “Personal info”, followed by “Phone”. From there, you should be able to add or edit your phone number by navigating to the “Recovery phone” section.


Source link