Can You Mount A TV On A Concrete Wall?


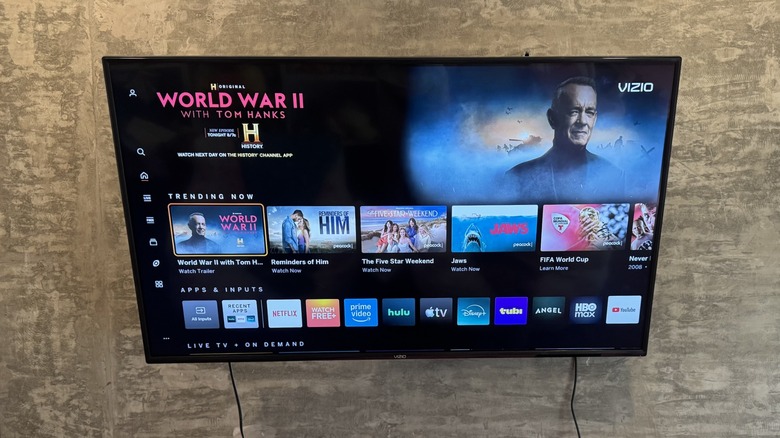
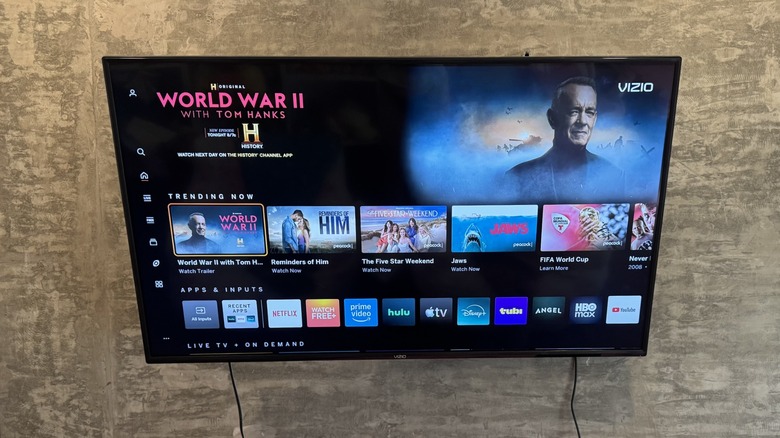
It may seem intimidating at first to think of hanging anything on a concrete wall. Drywall is the most common type of wall in apartments and single-family homes alike and it’s very easy to hang a TV on drywall as long as you can find the studs. However, you can easily hang a TV on a concrete wall — it will just take more time. The effort is worth it, since hanging a TV frees up space, looks more modern and cleaner, and can even allow for more movement if you get a tilt or full-motion mount. 

You’ll first need the right tools for the job. Along with the right size TV mount kit (which usually comes with a wall plate, screws, bolts, washers, spacers, and sometimes heavy-duty hardware like wall anchors and lag bolts) you’ll need a marker, electric hammer drill, masonry drill bit, hammer, level, and concrete screws. We also recommend safety gear, like goggles and gloves.

How to mount a TV on a concrete wall
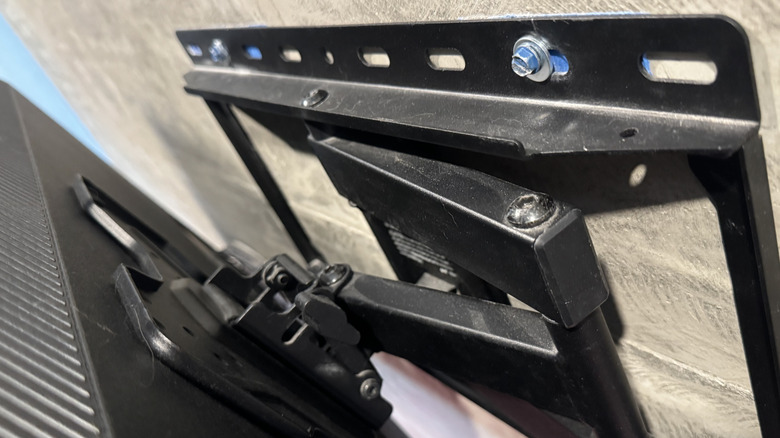
Once you have the tools, it’s time to start planning. Before you even start drilling, you’ll want to find the right spot on the cement. Measure the wall to find the center (or just find the most visually appealing spot to you). Then, hold the wall plate to the wall, remembering that the TV will be above and below the wall plate. Once you find a spot, use the level to make sure it’s straight and then start marking the center points of the mounting holes directly onto the concrete. 

Put the masonry drill bit into your hammer drill and start drilling the marked center points. The holes should be deep enough to fit anchors. While you don’t have to worry about studs with a concrete wall, you may run into rebar, a steel bar that strengthens concrete. You will have to stop drilling and use a cutter to get through the metal — or find a new spot. 

When the holes are complete, insert the wall anchors. Line up the mounting plate with the holes, then use an electric drill to secure the plate to the anchors. If everything looks centered and aligned, you can attach your TV to the mount. If you want, you can conceal the wires at that point. Finally, try wiggling the TV to see if it’s mounted securely. 


Source link

Leave a Reply

Subscribe to Our Newsletter

Get our latest articles delivered straight to your inbox. No spam, we promise.

Recent Reviews


Google Maps

You can completely obscure your home from Google Maps’ view if you’re uncomfortable with it there. 

Google Maps

Type almost any residential address into Google Maps, switch to Street View and you’ll find a high-resolution photograph of the front of the property – the door, the windows, the cars in the driveway, the layout of the yard. For most homeowners, that level of detail being publicly accessible to anyone with an internet connection is a privacy concern that doesn’t get discussed nearly as much as it should. Google does offer a way to blur your property out of Street View entirely, the request is free, and once it’s approved the blur is permanent. Here’s how to submit one.

The good news is that you don’t have to just accept this exposure as a fact of life. You can actually force Google to censor your home, permanently blurring it out to protect your privacy from prying eyes. It’s a simple way to take back control of your home’s online footprint and ensure that your driveway and windows aren’t part of a global database.

Here’s how to reduce how much of your home is visible online.

For more, check out essential Google Maps tips for travel.


Don’t miss any of our unbiased tech content and lab-based reviews. Add CNET as a preferred Google source.


How to Blur Your Home or an Object in Google Maps

How to blur your home on Google Maps

You’ll need to do this on your computer since the blurring feature isn’t available in the Google Maps application on iOS or Android. It is accessible through the web browser on your mobile device, but it’s rather difficult to use, so your best option is a trusted web browser on your Mac or PC.

At maps.google.com, enter your home address in the search bar at the top-right, hit return, then click the photo of your home that appears.

Google Maps address

Click on the photo of your home, right above your address, on the top-left part of the page.

Screenshot by Nelson Aguilar/CNET

Next, you’ll see the Street View of your location. Click Report a Problem at the bottom-right. The text is super tiny, but it’s there.

Google Maps location

This is the Street View of your location.

Screenshot by Nelson Aguilar/CNET

Now, it’s up to you to choose what you want Google to blur. Using your mouse, adjust the view of the image so that your home and anything else you want to blur are all contained within the red and black box. Use your cursor to move around and the plus and minus buttons to zoom in and out, respectively.

Street View on Google Maps showing options for blurring the image

If you want to blur more than what’s in the red and black box, use the plus button to zoom in.

Screenshot by Nelson Aguilar/CNET

Once you’re finished adjusting the image, choose what you’re requesting to blur underneath:

  • A face
  • Your home
  • Car/license plate
  • A different object

You’ll be asked to provide a bit more detail about what you want blurred in case the image is busy with cars, people and other objects.

Also, be completely sure that what you select is exactly what you want blurred. Google cautions that once you blur something on Street View, it’s blurred permanently.

Finally, enter your email (this is required), verify the captcha (if needed), and click Submit.

Google Maps options

You are required to provide additional information about what you want to blur, so be thorough.

Screenshot by Nelson Aguilar/CNET

You should then receive an email from Google that says it’ll review your report and get back to you once the request is either denied or approved. You may receive more emails from Google asking for more information regarding your request. Google doesn’t offer any information on how long your request will take to process, so just keep an eye out for any further emails.

For more, take an inside look at how Google built Immersive View for Maps.


Source link